Step 1: pick the photo
Most bad lithophanes were bad photos first. You want sharp focus, one clear subject that fills the frame, and a subject that stands out from its background. Dark, blurry or busy photos stay that way. There's a full checklist in what is a lithophane, and which photos make a good one.
Crop the photo to the shape you're printing before you upload it. A wide photo squeezed into a round ornament loses whatever was at the edges.
Step 2: turn the photo into a 3D file
A lithophane maker reads how bright each part of the photo is and builds a panel that's thin where the photo is bright and thick where it's dark. These are the ones worth using, and all of them run in a browser:
| Tool | Best for | Notes |
|---|---|---|
| Image to Lithophane (3dp.rocks) | A simple flat or curved panel | The oldest and plainest. Upload, set the size and thickness, download. Free. |
| Lithophane Maker | Lamps, night lights, boxes, globes | Ready-made shapes that fit real bulbs and light kits. Free. |
| ItsLitho | Getting the image itself right | Live preview and the most control over contrast and brightness. Free to start, with paid extras. |
| MakerLab (MakerWorld) | Bambu Lab printers | Sends the result straight to Bambu Studio with settings filled in. |
Whichever you use, three settings decide the result:
- Minimum thickness: about 0.8 mm. This is the brightest part of the picture. Thinner than this and it gets fragile and you can see the light source through it.
- Maximum thickness: about 3 mm. This is the darkest part. Go thicker and the shadows turn into solid black with no detail.
- Positive or negative. If the preview looks like a photo negative when lit, flip this setting. Dark areas of the photo should be the thick ones.
Step 3: slice it
- Stand it up. Print the panel vertically, like a book standing on its edge. The printer moves much more finely side to side than it does layer to layer, so an upright lithophane has smooth shading and a flat one has visible steps. The numbers and the exceptions are in flat or vertical.
- 100% infill. Any pattern inside shows as a grid when lit. If your slicer lets you, set enough walls that the whole panel is made of walls, which gives the same result.
- Layer height 0.12 mm or finer. 0.08 mm is better if you can wait.
- Slow down. Cut the wall speed to a third or less of your normal speed. Fast printing leaves ripples that show as stripes in the picture.
- Add a brim. A tall, thin panel has a tiny footprint and will rock or tip without one.
- No supports. They aren't needed and they scar the surface.
Expect an ornament-size piece to take a few hours and a lamp panel most of a day at these settings.
Step 4: print it in white PLA
Plain white PLA is the standard for good reason: it lets the right amount of light through and gives the picture a neutral tone. Clear and "natural" filaments let too much through, and colours tint the photo. The details are in the best filament for lithophanes.
Step 5: light it
The light matters as much as the print. A warm white LED gives skin and fur a natural tone, and a cool white one makes the picture look bluish and flat. The light should be spread out behind the panel. A single bright dot right behind it shows as a hot spot in the middle of the photo, so move it back or put something frosted in between.
Mistakes that ruin them
| What you see | What caused it |
|---|---|
| A grid pattern over the picture | Infill under 100% |
| Stair-steps in faces and skies | Printed lying flat |
| Vertical stripes | Printed too fast, or a loose belt |
| Looks like a photo negative | Positive and negative swapped in the maker |
| Shadows are solid black | Maximum thickness too high, or the photo was too dark |
| Washed out, no contrast | Maximum thickness too low, or a filament that's too clear |
| A line across the picture | The Z seam landed on the face of the panel. Move it to an edge. |
No printer, or no time?
That's what this shop does. Send the photo, get a preview of the crop and how it will look lit, and it prints once you approve it.
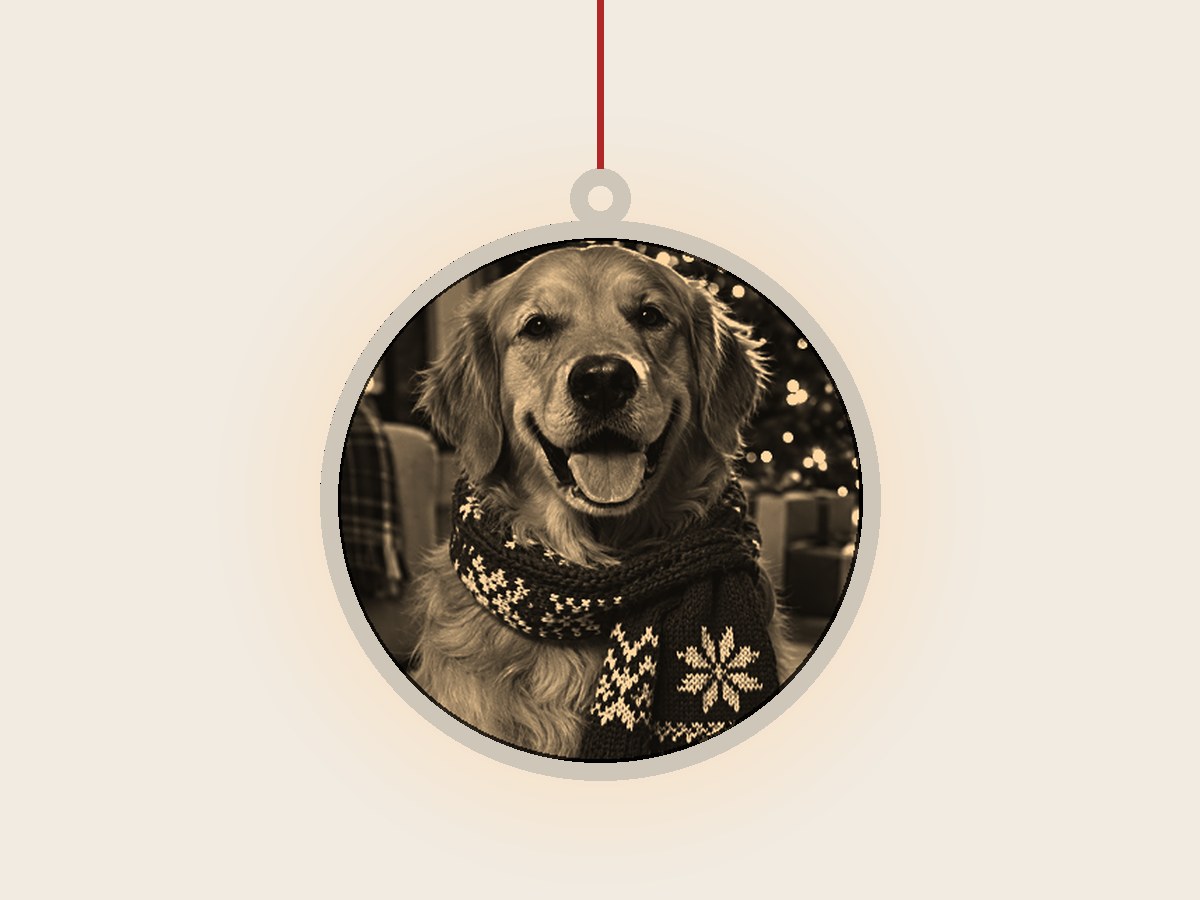 Photo giftsPersonalized photo ornamentFits any photo you send; you approve the crop
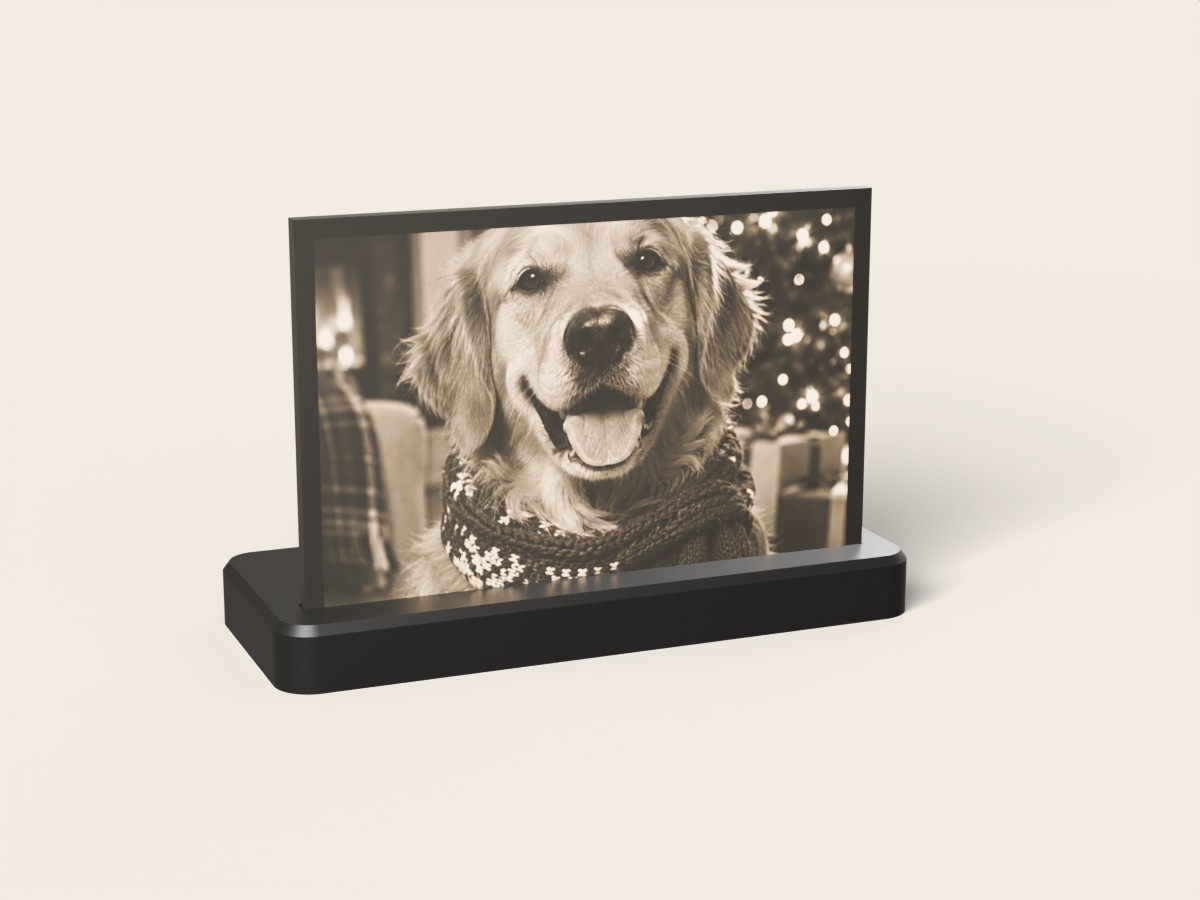 Photo giftsCustom photo lithophane lampFits any photo you send (landscape crops best)
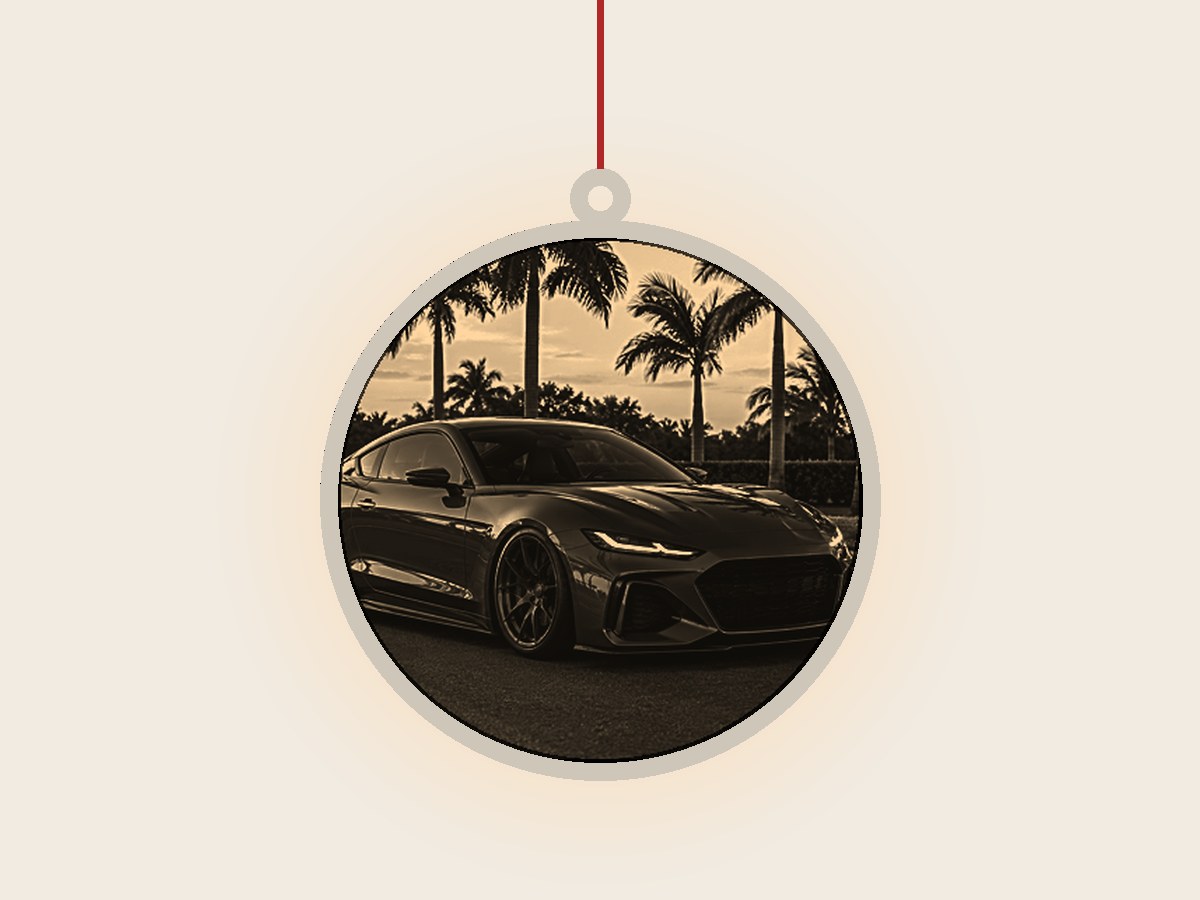 CarCustom car photo ornamentFits any photo you send; we crop it onto the car
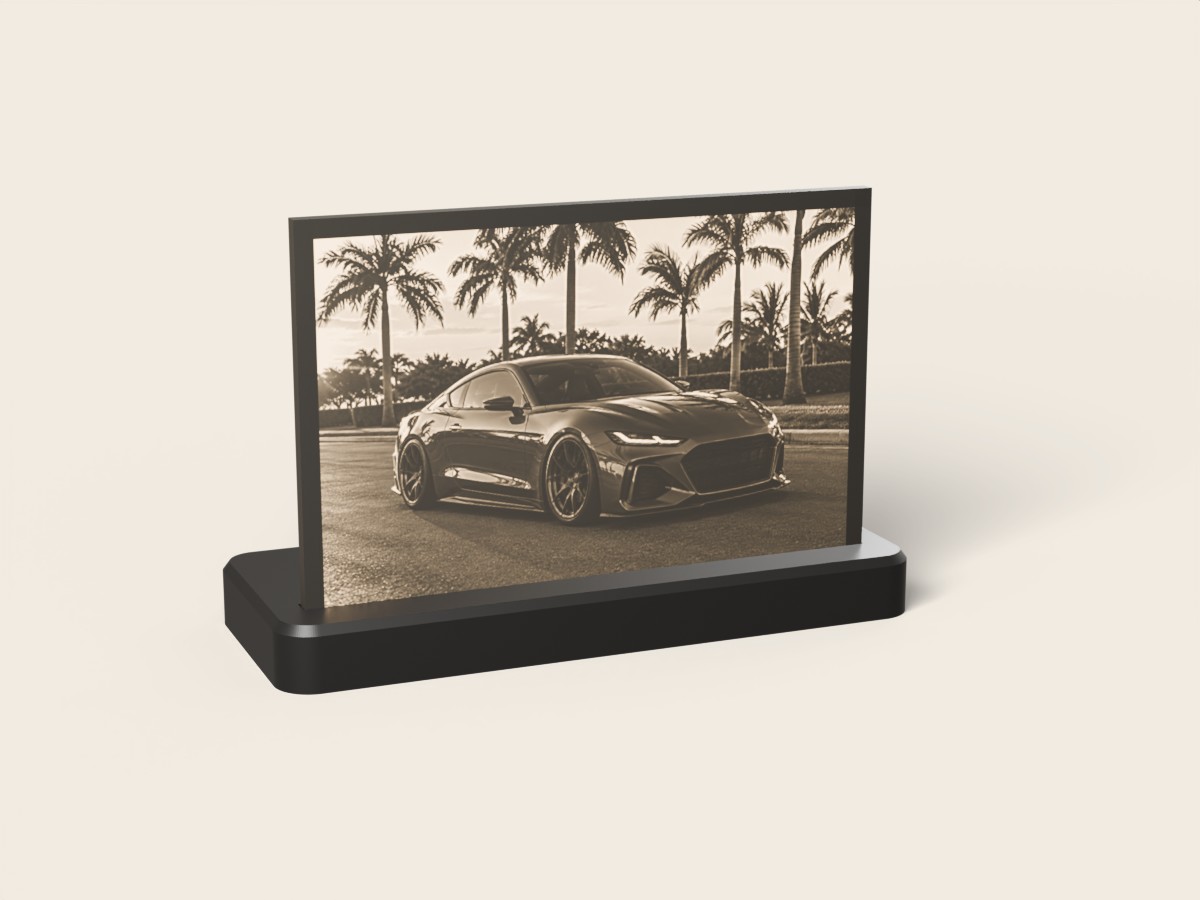 CarCustom car photo lithophane lampFits any photo you send (landscape works best)
Questions
What is the best free lithophane maker?
For a flat panel, the Image to Lithophane tool at 3dp.rocks is the simplest. For lamps, night lights, boxes and globes, Lithophane Maker has ready-made shapes. ItsLitho has the most control over the image itself. Bambu Lab owners can also use the lithophane tool in MakerLab on MakerWorld.
Should a lithophane be printed flat or standing up?
Standing up. Printed vertically, the detail comes from the printer's fine side-to-side movement, so the picture is smoother. Printed flat, every shade has to be made from whole layers, which shows as steps.
What infill should a lithophane use?
100%. Any infill pattern inside the panel shows up as a grid when the light comes on.
How thick should a lithophane be?
About 0.8 mm at the thinnest, brightest points and about 3 mm at the thickest, darkest points, in white PLA. Thicker than that and the dark areas stop letting any light through.