The short version
A 3D printer builds a part one thin layer at a time. On each layer it traces the outer wall as a closed loop, and a loop has to start and stop somewhere. Where it stops, the nozzle lifts or moves on to the next layer, and it leaves a tiny blob, a gap, or both. Stack a few hundred layers and those marks line up into a vertical stripe up the side of the part. That stripe is the Z seam, named after the Z axis (up and down).
You can't print a closed wall without one, so the job is putting it where you won't see it and making the mark itself as small as possible.
Why it leaves a mark at all
Molten plastic doesn't stop the instant the extruder stops pushing. There's pressure built up in the hot end, so a bit keeps oozing out at the end of a loop, and that's the bump. At the start of the next loop the pressure takes a moment to build back up, so the first few millimetres come out thin, and that's the gap. Most seams are a mix of the two. A blobby seam usually means too much pressure at the end; a seam that looks like a little crack or a row of pinholes means not enough at the start.
What the slicer seam settings actually do
Every slicer has a seam position setting. The names differ a little (Bambu Studio and OrcaSlicer, PrusaSlicer and Cura all have their own), but they boil down to these:
| Setting | What happens | Use it for |
|---|---|---|
| Aligned | Puts every layer's start in the same place, usually tucked into a sharp corner. | Boxes, brackets, anything with corners. The default here. |
| Back / Rear | Lines the seam up on the back of the part as it sits on the plate. | Figures, vases, signs, anything with a side nobody looks at. |
| Nearest | Starts each layer wherever the nozzle happens to be. Fastest, but the seam wanders. | Internal parts, jigs, things nobody sees. |
| Random | Scatters the start point every layer. No stripe, but small bumps all over. | Rough or textured surfaces only. On a smooth part it looks like a rash. |
Cura calls it Z Seam Alignment and adds Sharpest Corner, plus a Seam Corner Preference with a Hide Seam option. In PrusaSlicer it's Seam position, and you can paint the seam onto the exact edge you want in both PrusaSlicer and Bambu Studio. Seam painting is the most underused tool in all of them: on a part with one good hidden edge, paint it there and stop fighting the slicer.
Hiding it: where to put it
- In a sharp inside or outside corner. The eye reads a corner as an edge already, so the seam disappears into it. This is why boxy parts look clean and round parts don't.
- On the back. Rotate the part on the plate so the side that matters faces front, then set the seam to Back.
- Along a feature line. A groove, a chamfer, a panel line. Design one in if the part is round and you care about the look.
Shrinking it: the fixes that work
Moving the seam hides it. These make the mark itself smaller, roughly in order of how much they help:
- Calibrate pressure advance (linear advance on some firmware). It's the setting that controls how the extruder handles pressure when speed changes, and it's the biggest single fix for blobs and gaps at the seam. On Bambu printers it's the flow dynamics calibration (the K value) that runs before a print; the manual pressure advance test in OrcaSlicer is worth doing on any printer.
- Dry the filament. Wet filament (PETG and nylon especially) foams and oozes, which makes every seam worse. In Florida humidity, an open spool can soak up enough water in a few days to show.
- Turn on a scarf seam if your slicer has one (newer Bambu Studio, OrcaSlicer and PrusaSlicer do). Instead of starting the loop at full height, it ramps the start and end of the wall over a short distance so they overlap like a scarf joint in wood. On round and smooth parts it's the closest thing to an invisible seam.
- Wipe on retract. The nozzle moves a few millimetres along the wall it just printed as it retracts, smearing the ooze back into the part instead of leaving it on the surface.
- Lower the outer wall speed. Slower outer walls mean less pressure to deal with at the seam.
- Small seam gap. Most slicers let you stop the loop just short of where it started. Too much leaves a crack, too little a bump; a few percent of the nozzle width is where most profiles land.
Why a print shop named itself after a flaw
Because the seam is where you can tell the difference. Anybody can buy a printer and get a part off the plate. Where the seam ended up, and how much of it you can feel with a fingernail, says whether somebody thought about the part before pressing print. Every part that leaves this shop has its seam placed on purpose: in a corner, on the back, or painted onto an edge you'll never look at.
See it on real parts
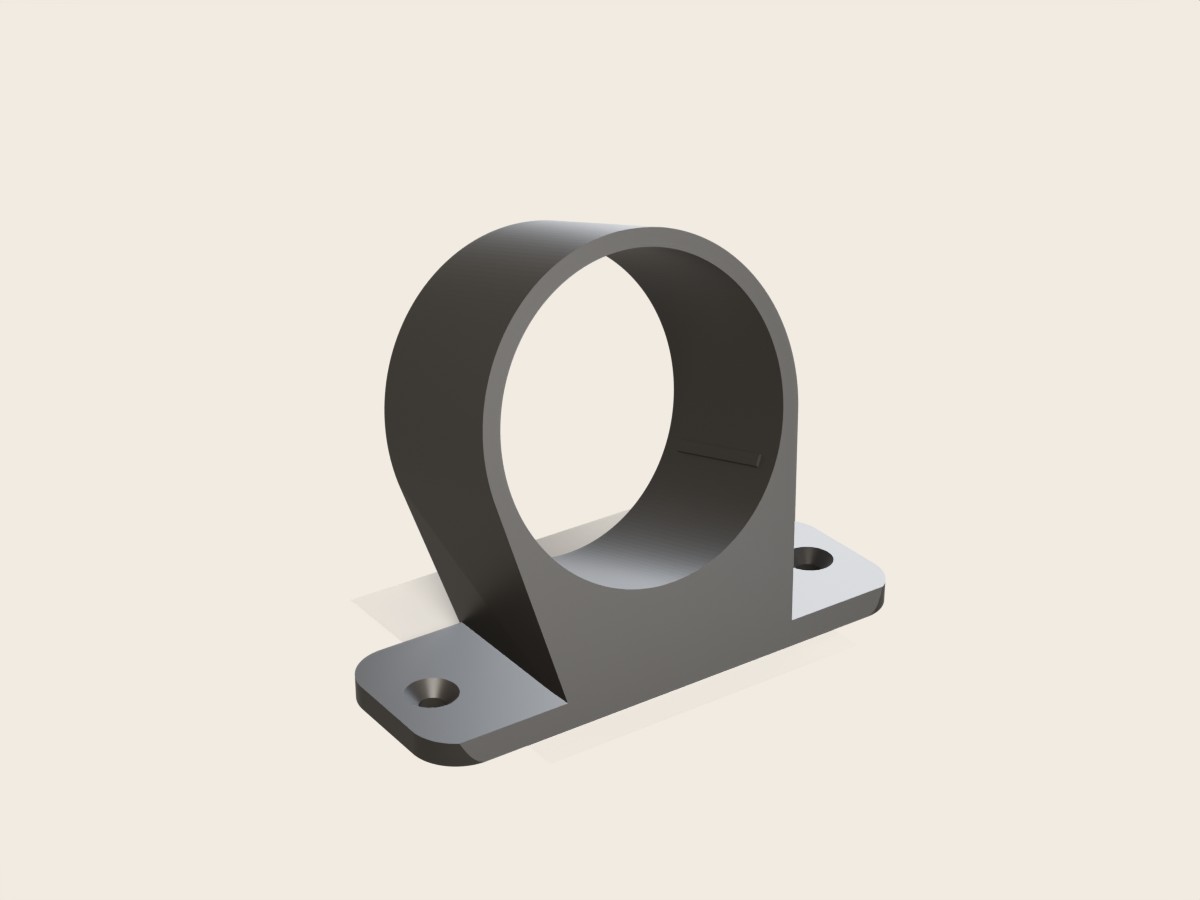
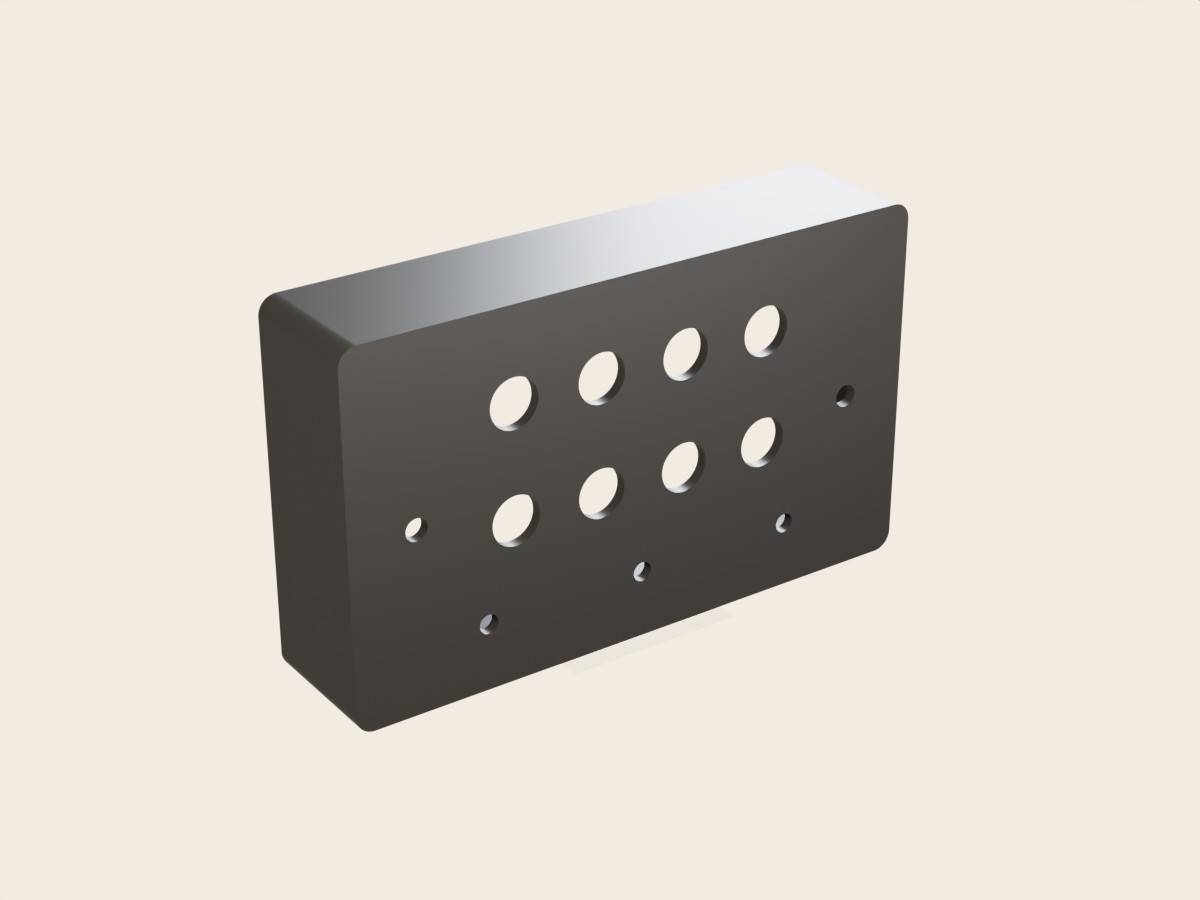
Gauge pods and boxes hide the seam in their corners. The round parts get it on the back.