Part by part
| Part | Printable? | Notes |
|---|---|---|
| Front lip | Yes | The most common one. Around 1.8 m wide, so 9 to 11 sections on a 250 mm printer. |
| Side skirt extensions | Yes | Long and mostly straight, so the sections are simple. Each side is longer than a lip. |
| Diffuser fins and rear add-ons | Yes | Fins print flat and strong. A full diffuser tray is a big sectioned job. |
| Canards and bumper winglets | Yes | Small enough to print in one piece each. |
| Spoiler end plates, gurney flaps | Yes | Flat parts, ideal for printing. |
| Grille inserts, vent trims, tow hook covers | Yes | Detail parts where printing beats everything else. |
| Whole bumper covers | Not practical | Too large, and factory bumpers flex in a way a rigid sectioned print won't. |
| Fenders, hoods, doors | No | Structural or crash-relevant body panels. Not a printing job. |
Why everything is in sections
A desktop printer's bed is around 250 mm across. A lip is about seven times that, a side skirt more. So a kit part is drawn as one continuous shape that follows the car, then cut into pieces that fit the bed.
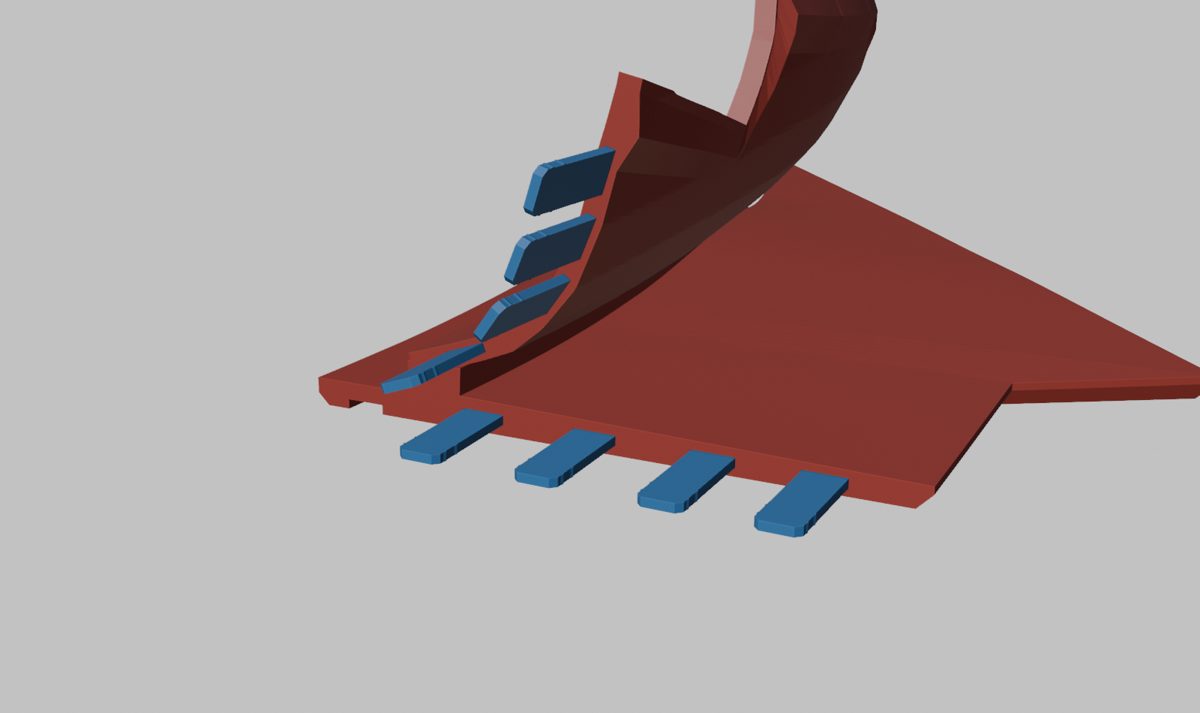
The joints decide whether it lasts. Glue alone doesn't: the part flexes over every bump and the seams take all of it. What works is ends that key into each other, with pegs hidden in the seam or dovetails, and every section fixed to the car on its own so no piece hangs off its neighbour.
Mounting without drilling
Most kits are screwed up into the bumper, which means new holes in the car. Where the car already has screws along the bottom edge, for the undertray or the arch liners, brackets can pick those up instead. The Gran Coupe lip uses brackets that slide along a rail on the back of the lip to wherever the factory screws are. The build log shows it, including the first test print that failed.
Plastic
| Plastic | On the outside of a car |
|---|---|
| ASA | First choice. Built for sun, heat and rain. Needs an enclosed printer. |
| PETG | Works, and it's tougher against knocks. Fades sooner unless painted. |
| Nylon carbon fibre | Stiffest, best in heat, matte finish hides layers. Most expensive. |
| PLA | No. Softens in summer and goes brittle outdoors. |
Getting the fit right
A kit part has to follow the real curve of the body, and trim levels on the same car differ. A sport-package bumper and the standard one are different shapes. The drawing starts from a 3D scan of the car or from careful photos and measurements, and the first prints are test pieces to check the fit before the full part is run.
Finish
Fresh off the printer you can see layer lines and seams. For a factory look: fill the joints, sand, filler primer, paint or wrap. Matte or satin black hides the most for the least work. A sectioned part also has an upside a moulded one doesn't: when one end meets a kerb, you replace that section, not the whole piece.
What it isn't
Printed kit parts are cosmetic. They change how the car looks. They aren't wind-tunnel parts, and nothing structural or crash-related should be printed. Rules on ground clearance and how far add-ons can stick out vary by state, so check before fitting.